The day before collecting your sample, be sure to drink plenty of fluids.
Pre-collection Preparation
1
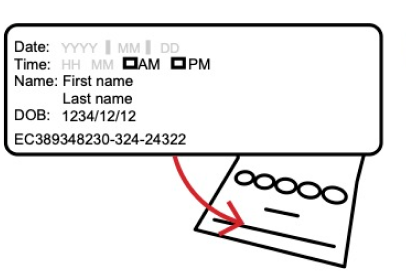
- On sample label and request form, write date and time of collection.
- Stick sample label on Protein Saver Card on top of the two lines for ‘Name’ and ‘Date’. Do not remove inner card from its attached envelope.

2
- Wash hands under warm water and dry with a clean towel.

3
- Rub hands together or swing your arm and gently massage the forearm of your non-dominant hand to encourage blood flow.
4
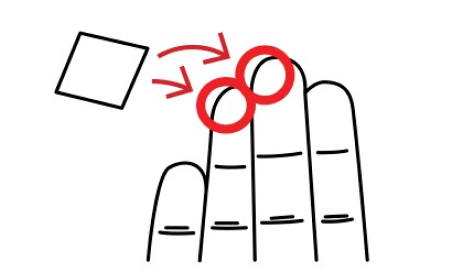
- Select the middle or ring finger of your non-dominant hand.
- Clean the outer edge of finger with the alcohol pad provided. Allow to dry for 20-30 seconds.
Sample Collection
5
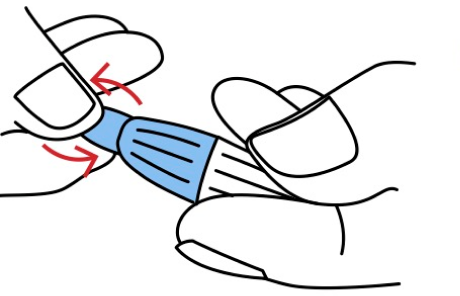
- While holding lancet, twist and remove cap.
- Open bandage and gauze packaging for easy use
- Caution: Lancet is sharp and can cause harm to children, pets and property.
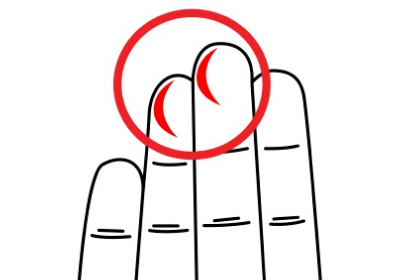
6
- Sit down. Place hand on a flat surface, palm facing up.
- Find puncture area on your finger (shown in green) near the edge of your finger pad. Avoid the middle of your finger pad. Do not puncture finger tip or side.
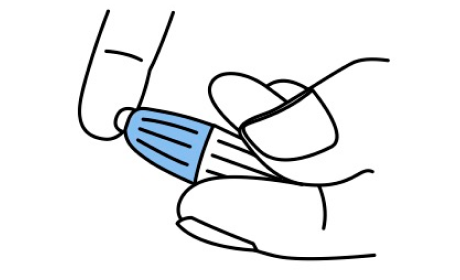
7
- Press lancet slowly and firmly against puncture area until you hear an audible click.
- You will feel a slight prick and a small drop of blood will form at puncture site.
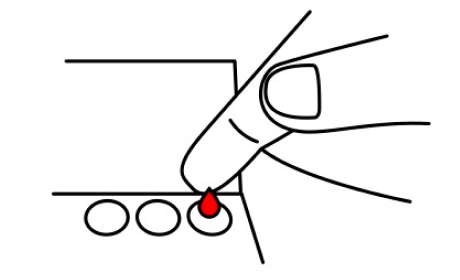
8
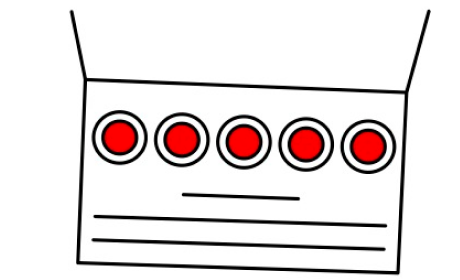
- Position finger over printed circles on Protein Saver Card.
- Gently massage entire length of finger to form a large, hanging blood drop.
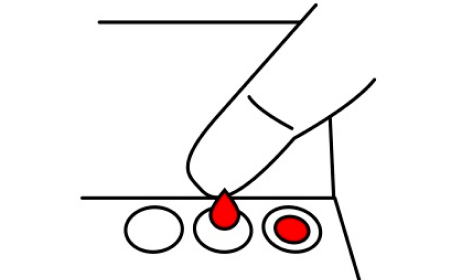
9
- Touch hanging blood drop to centre of circle (one large drop per circle) without touching finger to Card.
- Apply only one blood drop per circle.
10
- Continue collecting blood drops until all circles are filled.
- Note: If unable to get enough blood, repeat from Step 4 using a different finger and second lancet and alcohol pad provided.
Post-Collection
11
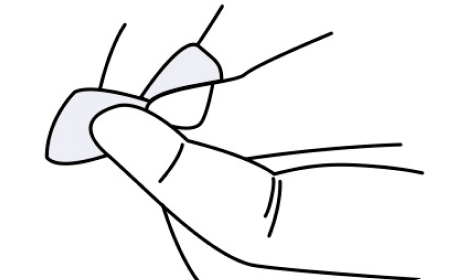
- OAfter blood collection is complete, gently press gauze against finger to stop bleeding.
- Apply bandage once bleeding has stopped.
12
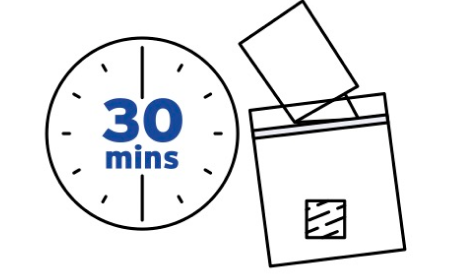
- Leave Protein Saver card open to dry for a minimum of 30 minutes.
- After blood has dried, close top flap.
- Place Protein Saver Card and desiccant pack into clear ziptop bag provided.
13
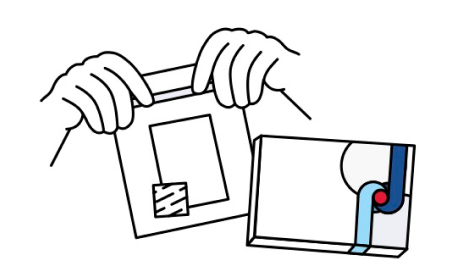
- Seal ziptop bag completely.
- Place fully sealed ziptop bag into white and blue kit box.
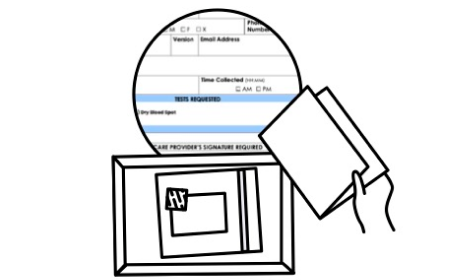
14
- Place request form into kit box provided.
- Refer to “Checklist: Get Ready to Ship Your Kit” on front side of instructions to ensure correct packing
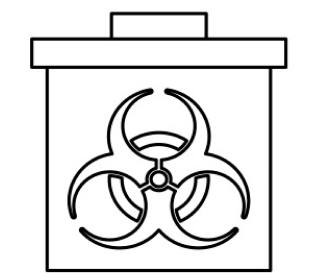
15
- Dispose of all other kit contents in household garbage (except for lancets).
- DO NOT mail back lancets. Dispose of used lancets in a Sharps Disposal Container (yellow rigid box found at many pharmacies, hospitals, or Household Hazardous Waste Depots)
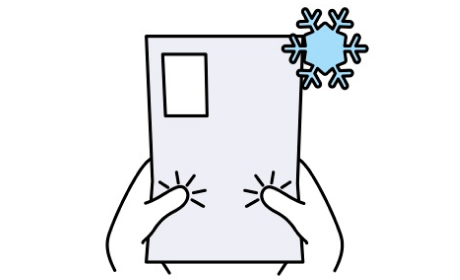
16
- Place white kit box inside plastic mailer (envelope).
- Squeeze mailer to force air out.
- Do not fold mailer tightly around box or use extra tape.
- Ensure return label is clearly legible.
- Store mailer in refrigerator until ready to ship.
- Ship as soon as possible.
Checklist: Get ready to ship your kit
 Add a sample label with the time and date of collection to Protein Saver Card. Close and tuck the flap.
 Place the Protein Saver Card and desiccant pack into the clear ziptop bag provided. Seal bag.
 Fill out the test request form with the date and time of collection. Place in box. Close box.
 Do NOT mail back lancets. Safely dispose of lancets using Step 15 of instructions.
Everything above complete? You’re ready to follow the shipping instructions below to return your sample via
Canada Post or by dropping off at a LifeLabs location. Please send your sample as soon as possible after
collection.


 Return to collection guide
 Watch the video